Write Your First Visual Basic Program
Additional
Command Button's Properties
Add 1 Command Button to your
form,
and change the following properties to
see what they
do.
Caption - the text that appear on the
button
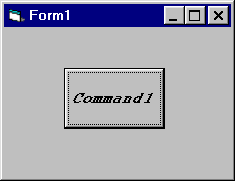
Font - The Caption's font (Figure 2).
Figure 2
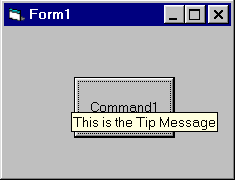
ToolTipText - Insert into this property the
text
that will appear when the mouse is stand still
on the button (Figure 3).
Figure 3
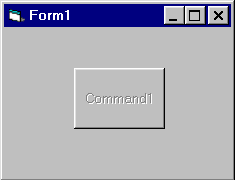
Enabled - Setting this property to "False" will
make
the button be gray, and the user will no be able to press on it (Figure 4).
Figure 4
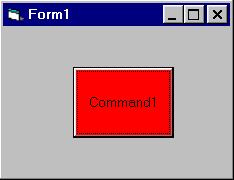
BackColor - This is the background color of the button
(Figure 5).
This property will take affect only after you will set the
Button's Style property to 1 - Graphical
Figure 5
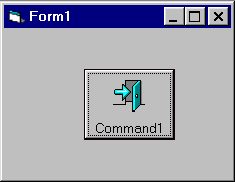
Picture - The Picture that appear on the button
(Figure 6).
This property and all the following Picture related properties
will
take affect only after you will set the
Button's Style property to
1 - Graphical
Figure 6
DisabledPicture
- The Picture that will appear on the button when
it disabled (When
the Enabled property is "False", like in Figure 4).
DownPicture - The Picture that will
appear on the button when
the button is being pressed.
Visible - If you will set this property
to "False", the Button
will not appear on your form at
run-time.
MousePointer - Choose here the mouse pointer
(Arrow, Hourglass, and more)
when it will be over the button.
If
you will set the property to be 99-Custom,
The mouse pointer will be the icon
that you will select in the MouseIcon property.
Left -
The Button X coordinate, relative to the form left border.
Top
- The Button Y coordinate, relative to the form Top
border.
Width - The Button width.
Height
- The Button height.