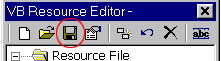
Choose your resource file name, and press Save.
Now not only the resource file was saved, but it been
added to your Project.
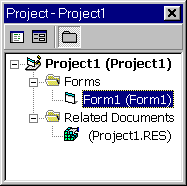
To see it, From Visual Basic menu
choose View->Project Explorer (Image
14), and by default, under the Related Documents folder
(Image 15), you will see the file
Project1.RES (or if you saved the resource file in other name,
yourResourceFileName.RES).
Image 14:
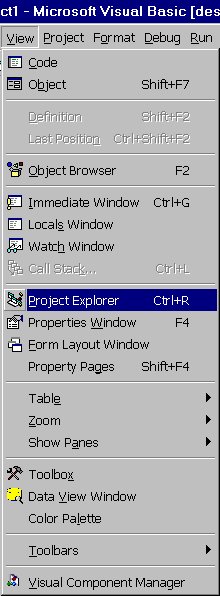
Image
15: